Why Your Before and Afters Look Fake (and the Seven Tells That Give It Away)
A viewer never analyses your before and after pair, they just feel that something is off. Here are the seven physical tells that cause it, and how to fix each one.
Somebody scrolls past your pair in about a second and a half. They do not zoom in, they do not hold the two frames side by side and compare them properly. They get a feeling, and if the feeling is “hmm”, you have already lost them. Nobody ever comments “your camera height changed between frames”. They just keep scrolling.
The useful part is that the feeling is not mysterious. It nearly always traces back to a short list of physical inconsistencies between the two photographs, and none of them are about the quality of your work. They are about the photographs.
Here are the seven, in roughly the order we see them.
1. The light changed
This is the most common one by a distance. The before was shot near the window at four in the afternoon. The after was shot two hours later under the ceiling downlights, because that is when the job finished.
Window light is soft, directional and cool. A ceiling fitting is hard, top-down and usually warm. Between them, skin tone shifts, a wall changes colour, a car panel goes from a soft gradient to a row of hot spots. The viewer cannot name any of that. They just register that the two photos came from two different places, and once they think that, they stop believing the pair.
The fix is unglamorous: shoot both frames under the same light source, and if that means walking the client back to the same window at the end, walk them back to the same window.
2. The distance changed
You took the before from where you happened to be standing. For the after you were pleased with the result, so you stepped in half a pace.
A step closer makes the subject bigger in the frame. The viewer does not read that as “the photographer moved”. They read it as “the subject got bigger”, and depending on what you are photographing that is either confusing or it looks like a trick. A driveway that fills more of the after frame does not look cleaner, it looks like a different driveway.
Mark where your feet were. A strip of tape on the floor costs nothing and solves it permanently.
3. The lens changed
Modern phones make this easy to do by accident. The before came out at 1x. For the after you wanted the whole room, so you tapped 0.5x.
The ultrawide is a different optic with visible barrel distortion. It stretches whatever sits near the edges of the frame and pushes the centre away from you. Put a 0.5x frame next to a 1x frame and every straight line in the room bends differently, faces near the edge widen, and a wall that was flat now bows. The pair looks manipulated because, optically, it was.
Lock both shots to 1x. If 1x cannot fit the whole subject, back up rather than switching lenses, and back up for both frames.
4. The pose or the expression changed
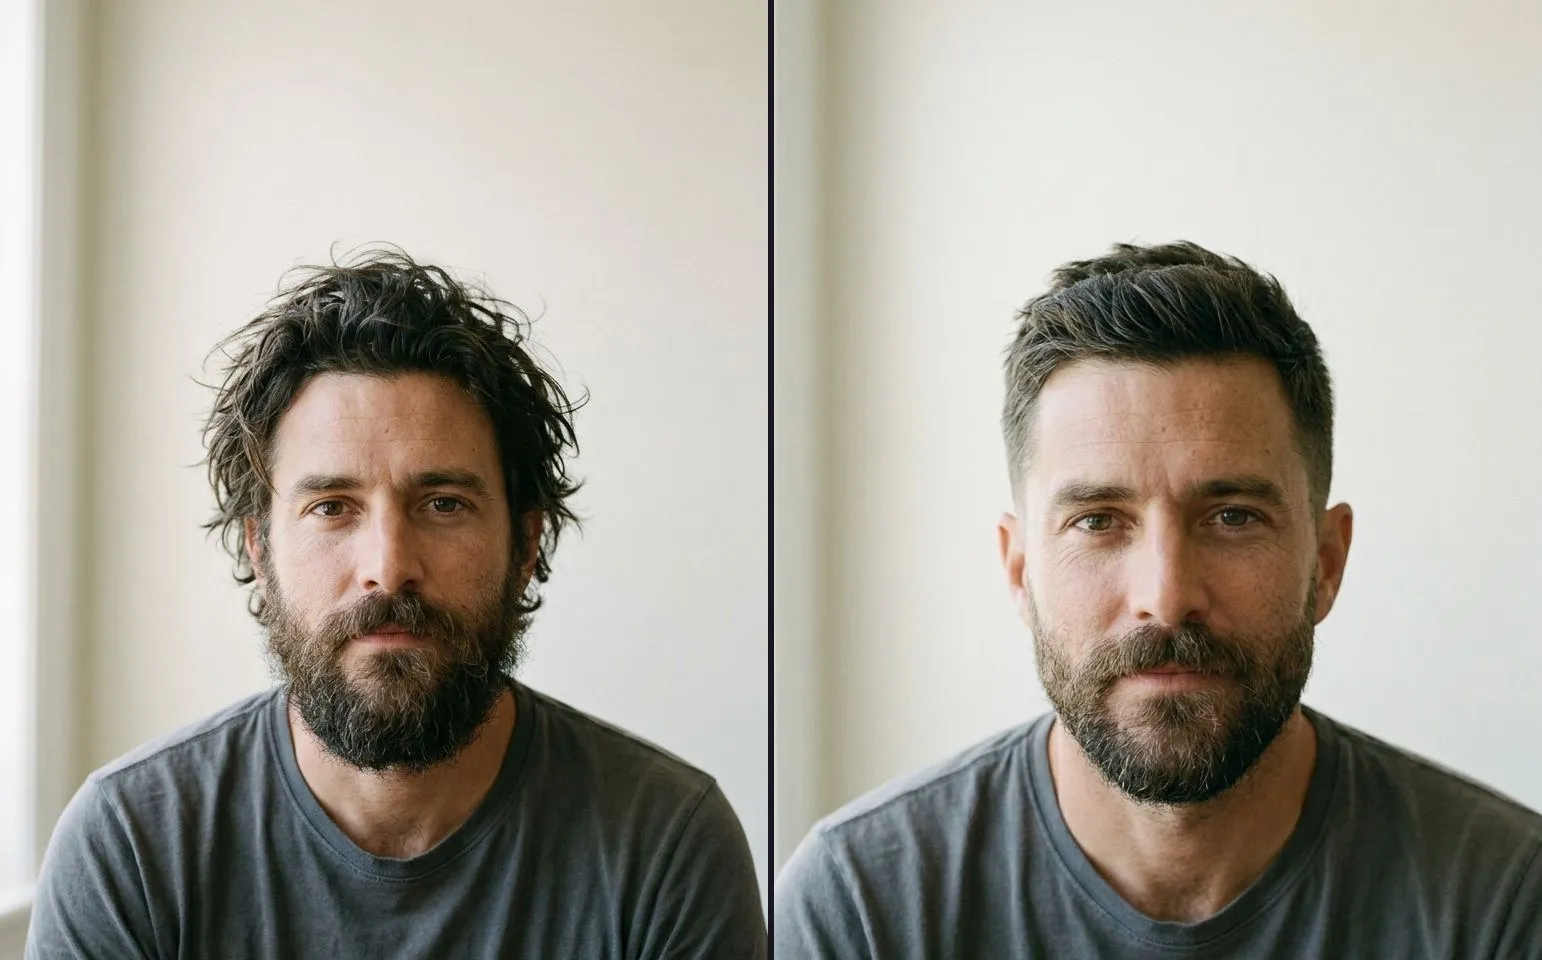
A person who was standing square to the camera in the before is turned three quarters in the after. Or the shoulders dropped, or the chin lifted, or the before was a flat neutral face and the after is a broad smile.
A change in posture changes the outline of a body, the line of a jaw, the way hair falls. The viewer attributes all of it to the service, which is unfair to you when it is not true and damaging to you when they work out that it is not true. Same stance, same head angle, same expression. Let the work be the only variable.
5. The background moved
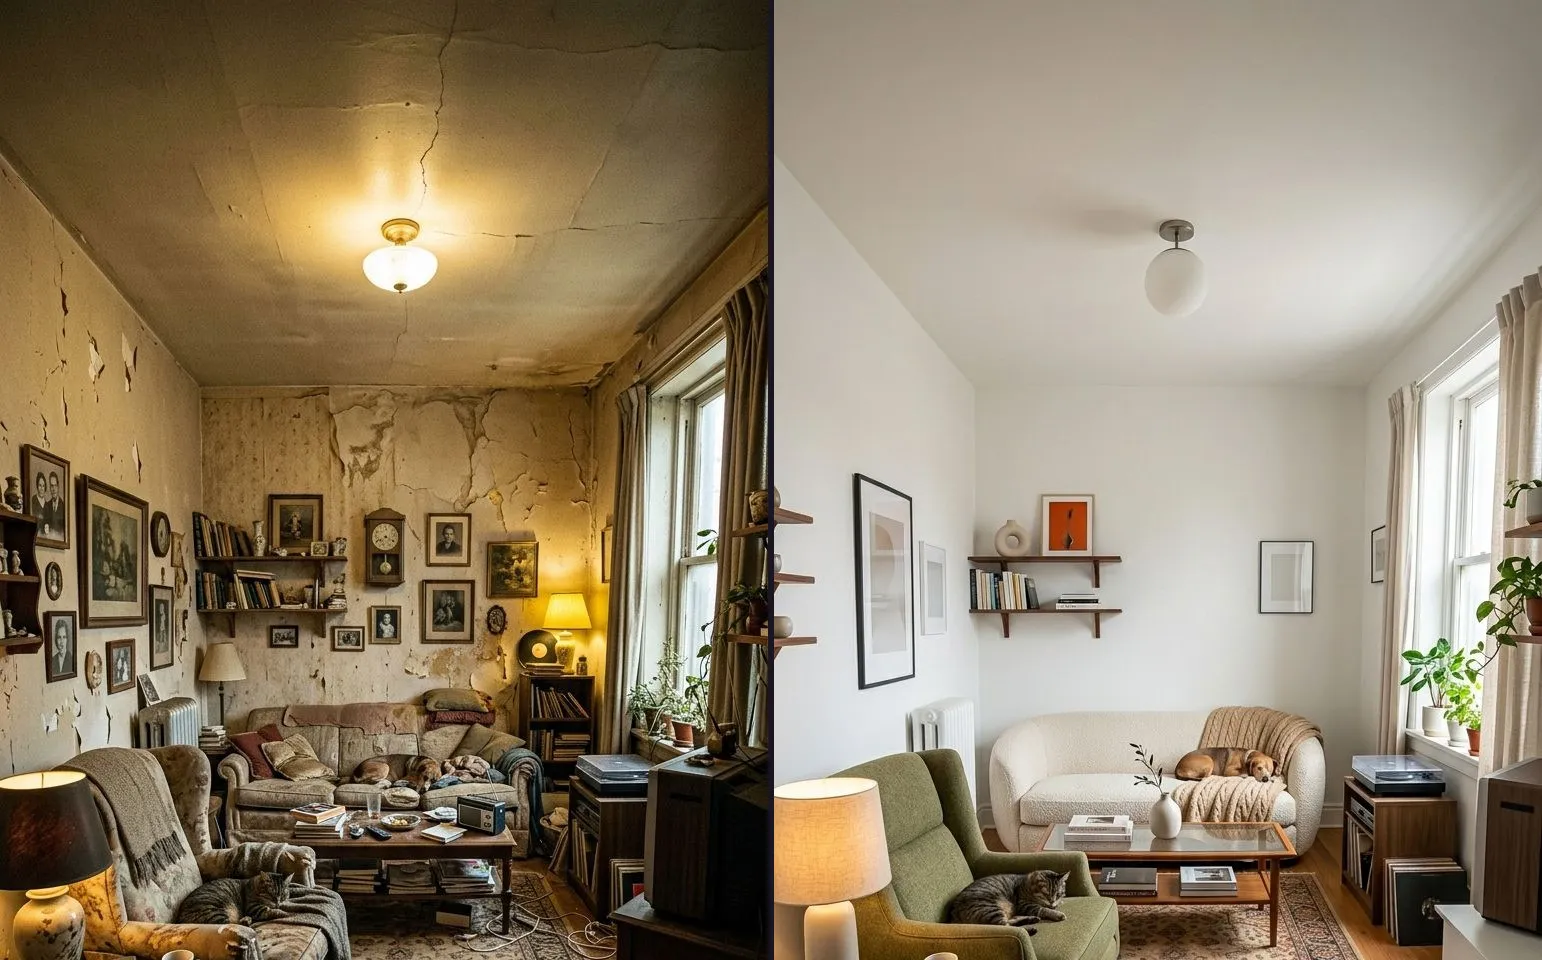
Between the two frames somebody tidied. The towel came off the chair, the bin got emptied, the clutter on the bench disappeared.
Tidying is fine when it is the job. It is corrosive when it is not, because it puts a second improvement into the frame that you are quietly taking credit for. It also breaks the alignment, since the objects a viewer uses to line the two frames up are no longer in the same places. Freeze the background. Whatever was on that bench in the before stays on that bench in the after.
6. The crop or the ratio differs
A square before beside a 9:16 after is not a comparison, it is two separate posts wearing a shared caption. Even a small ratio mismatch reads badly, because the subject sits at a different size and a different height in each frame and the eye has to work to reconcile them.
Pick a ratio before you shoot the first photo and keep it. If the pair is going to Reels or TikTok, shoot both frames in portrait. You can test how a pair holds together in a few seconds with the free in-browser slider on this site: drop both photos into the before and after slider and drag the handle. A pair with a ratio or alignment problem falls apart the moment the handle moves.
7. The before was staged worse than it needed to be
This is the tell that costs the most, because it is the only one that reads as dishonest rather than careless.
Wet hair in the before and blow-dried hair in the after. Slumped posture in the before, straightened up in the after. A deliberately grim expression, a deliberately bad angle, a deliberately unflattering light. Everybody has seen this trick and everybody recognises it. Once a viewer decides the before was sabotaged, they discount the after entirely, and they carry that judgement to every pair you post afterwards.
Shoot the before the way you would shoot the after. If the work is good, the honest pair is still a good pair.
What a fake-looking pair actually costs
A pair that reads as staged does more damage than posting nothing at all. Silence is neutral. A pair that looks manipulated is an active signal about how you operate, and it lands on exactly the audience you were hoping to convert.
There is a second cost in regulated trades. In fields where the imagery is treated as a claim about a result, an over-flattered pair is not just a credibility problem, it is a compliance problem, and the platform policies differ by trade and by region. If you are putting money behind a pair rather than posting it organically, check the current policy for your trade first.
The good news
Six of these seven cost nothing to fix. They are decisions you make in the ten seconds before you press the shutter the first time: where you stand, how high you hold the phone, which lens is selected, which light is on, what is in the background, what ratio you are shooting.
A free phone camera and thirty seconds of care beats any app here, and we would rather say that plainly than sell you something. If you want the method written out in order, we have it in how to take matching before and after photos . If the gap between the two frames is weeks rather than minutes, that is a harder version of the same problem and it has its own guide in the same angle, six weeks later .
Where our app earns its place is the seventh problem you have not hit yet: the after that has to line up with a before you took a month ago. Ghost Camera puts the before photograph over the live viewfinder while you compose the second shot, so you can see the mismatch before you take it rather than after. It is free, and you can read what else is in the app on the app page . When you get to the point of making the pair look like a finished post rather than two photos, the template catalogue is the place to start.
But fix the seven first. No template rescues a pair shot from two different distances under two different lights.
Common questions
- Why do my before and after photos look fake even though nothing was edited?
- Almost always because something physical changed between the two frames, usually the light, the distance or the lens. The viewer reads that change as a change in the subject, and the pair stops being believable even though neither photo was retouched.
- Does using the 0.5x ultrawide lens ruin a before and after?
- It ruins the pair if only one of the two frames used it. The ultrawide stretches whatever sits near the edge of the frame, so a 0.5x before next to a 1x after shows a shape change you did not cause. Shoot both at 1x.
- Should I make the before photo look worse on purpose?
- No. A deliberately grim before is the one tell that reads as dishonest rather than sloppy, and people spot it instantly. Shoot the before the way you would shoot the after, and let the actual work carry the difference.
- Can I fix a mismatched pair after the fact?
- Only a little. Cropping to the same ratio and matching the colour temperature helps, but you cannot undo a different camera height, a different distance or a different lens. The fix is on the shoot, not in the edit.
- Is a mismatched before and after a problem for ads?
- It can be. In regulated trades an over-flattered pair is a compliance question as well as a credibility one, because the imagery is read as a claim about the result. Check the platform policy for your trade before you put money behind a pair.