How to Take Matching Before and After Photos
A method you can follow with a phone in a salon or on a driveway: the spot, the height, the distance, the lens and the light, plus the five numbers to write down.
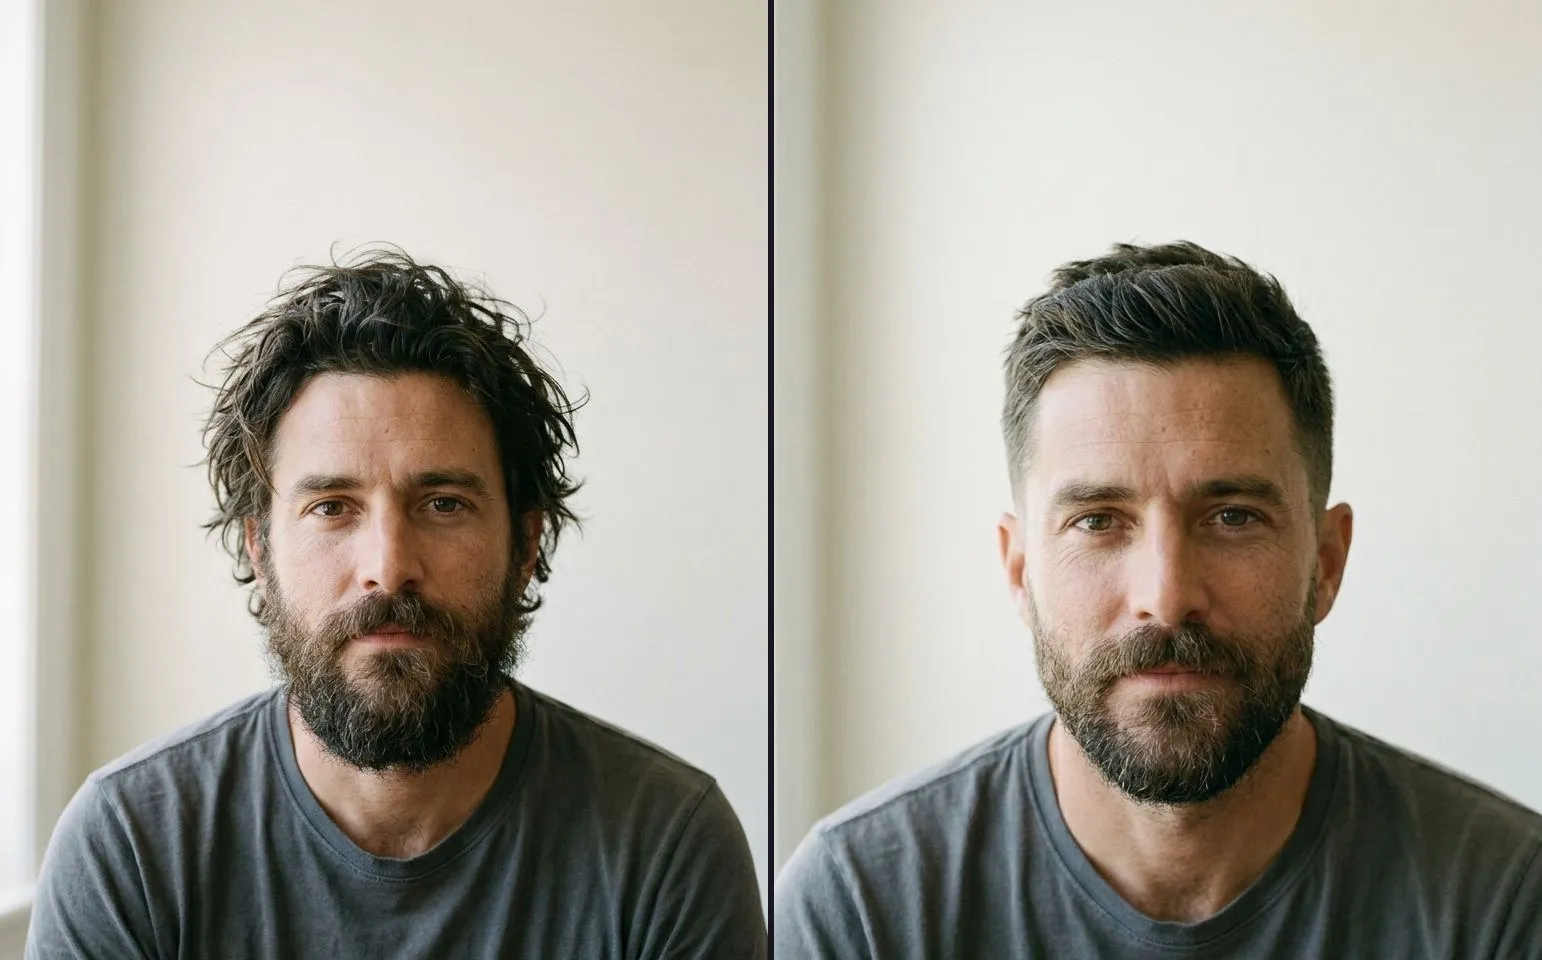
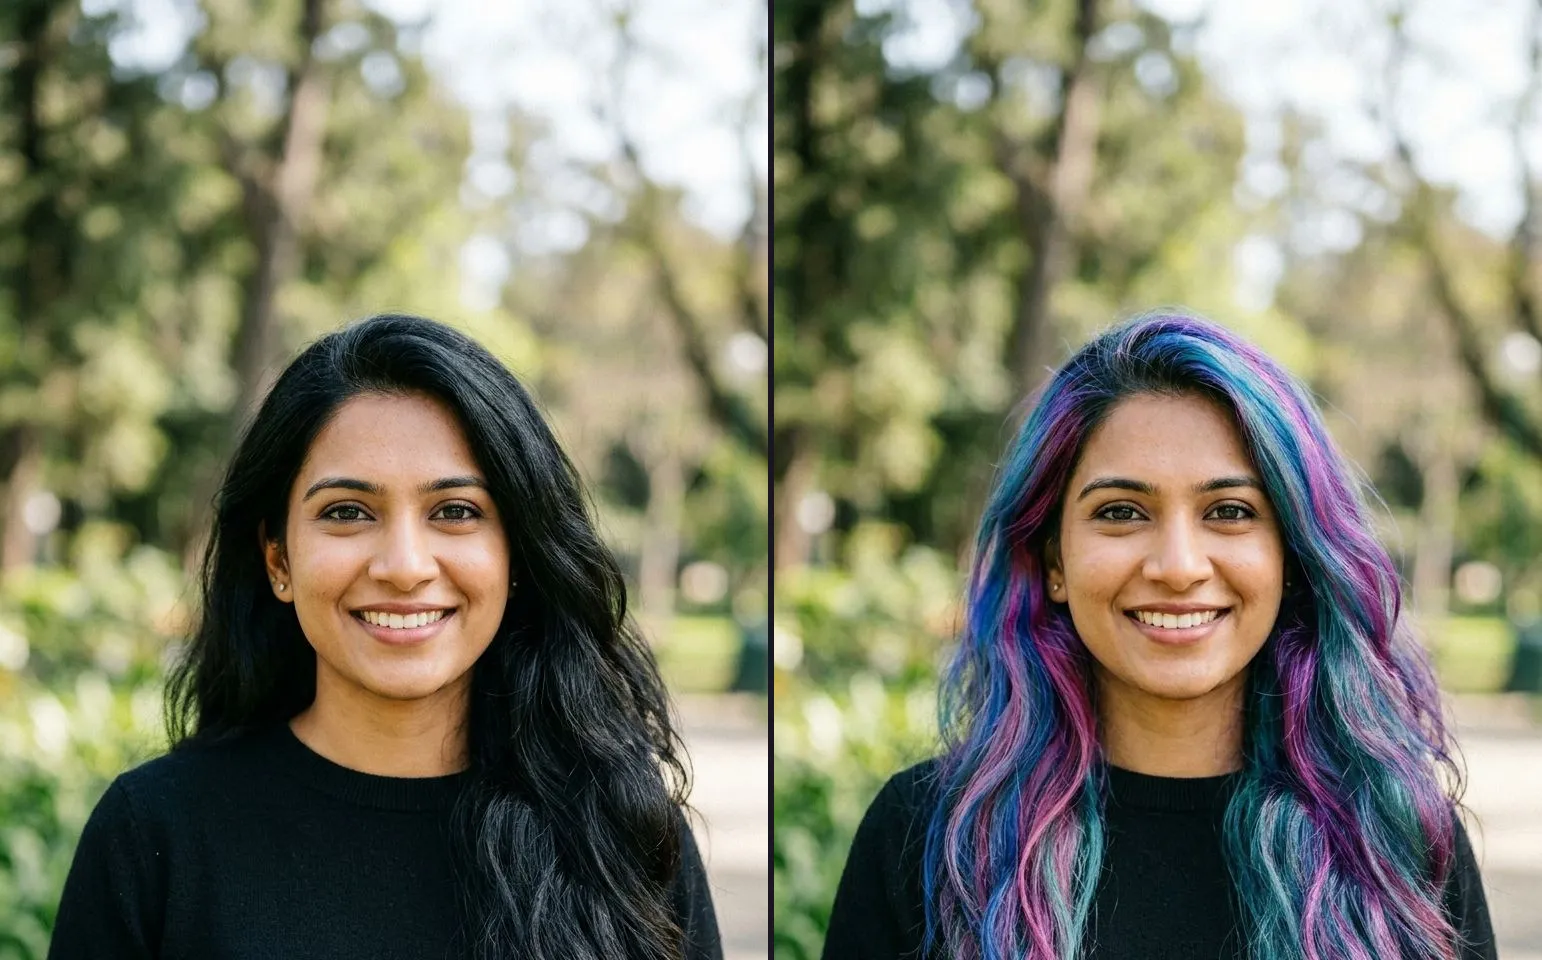
Everything that makes a pair line up happens before you press the shutter the first time. Once the before is taken, the after has to match it, and every decision you made casually in the first frame becomes a constraint you have to reproduce in the second.
So take the before as though you already owe somebody the after. Here is the order.
1. Pick the spot, and mark it
Choose where the subject stands and where you stand, then physically mark both. A strip of gaffer tape on the salon floor. A chalk cross on the driveway. A specific tile, a specific floorboard, the corner of a rug.
This sounds fussy and it is the single highest-value thing on the list, because distance and position are the two variables you are guaranteed to get wrong from memory. If you cannot mark the floor, pick a landmark you cannot move: stand with your heels against the skirting board, or line your toes up with the edge of the bench.
2. Fix the camera height
Decide the height and say it out loud so you remember it. Subject eye level is the default for a person and it flatters nobody unfairly, which is the point. For a room, chest height and level. For a driveway or a floor, whatever height you pick, hold it.
A phone held at chest height and a phone held at waist height produce noticeably different perspective on the same subject. If your phone has a level or grid overlay, turn it on and keep the horizon in the same place in both frames.
3. Fix the distance
Stand about a metre and a bit from a seated person for a head-and-shoulders frame, further back for a full body, and whatever your number is, use the same number twice. Count paces from your mark if you have nothing better.
Do not zoom to fill the frame. Digital zoom on a phone crops and softens, and you will not reproduce the same zoom level next time. Move your feet, then leave them there.
4. Lock the lens at 1x, and never use 0.5x
Tap 1x before the first shot and check it before the second. This is the most common accidental mismatch we see, because the ultrawide is one tap away and it is tempting when you want the whole room.
The 0.5x lens bends straight lines near the edges of the frame and changes the apparent shape of anything that is not dead centre. A 0.5x before beside a 1x after shows a change in shape you did not cause, and the pair looks manipulated. If 1x cannot fit the subject, back up until it does, and back up for both frames.
5. Use the same light, at the same time of day
One source, chosen deliberately. If the before was lit by the window, the after is lit by the window. If the room lights were off, they stay off. Do not mix window light in one frame and a ceiling fitting in the other, because the colour and the direction both change and the viewer reads that as a change in the subject.
Outdoors, time of day matters more than weather. An overcast noon and a sunny noon are far closer to each other than a sunny noon and a sunny five o’clock, because the sun has moved and every shadow in the frame has moved with it.
6. Freeze the background
Look past the subject before the first shot and clear whatever you do not want in the pair. Then leave the background exactly as it is until the after is taken.
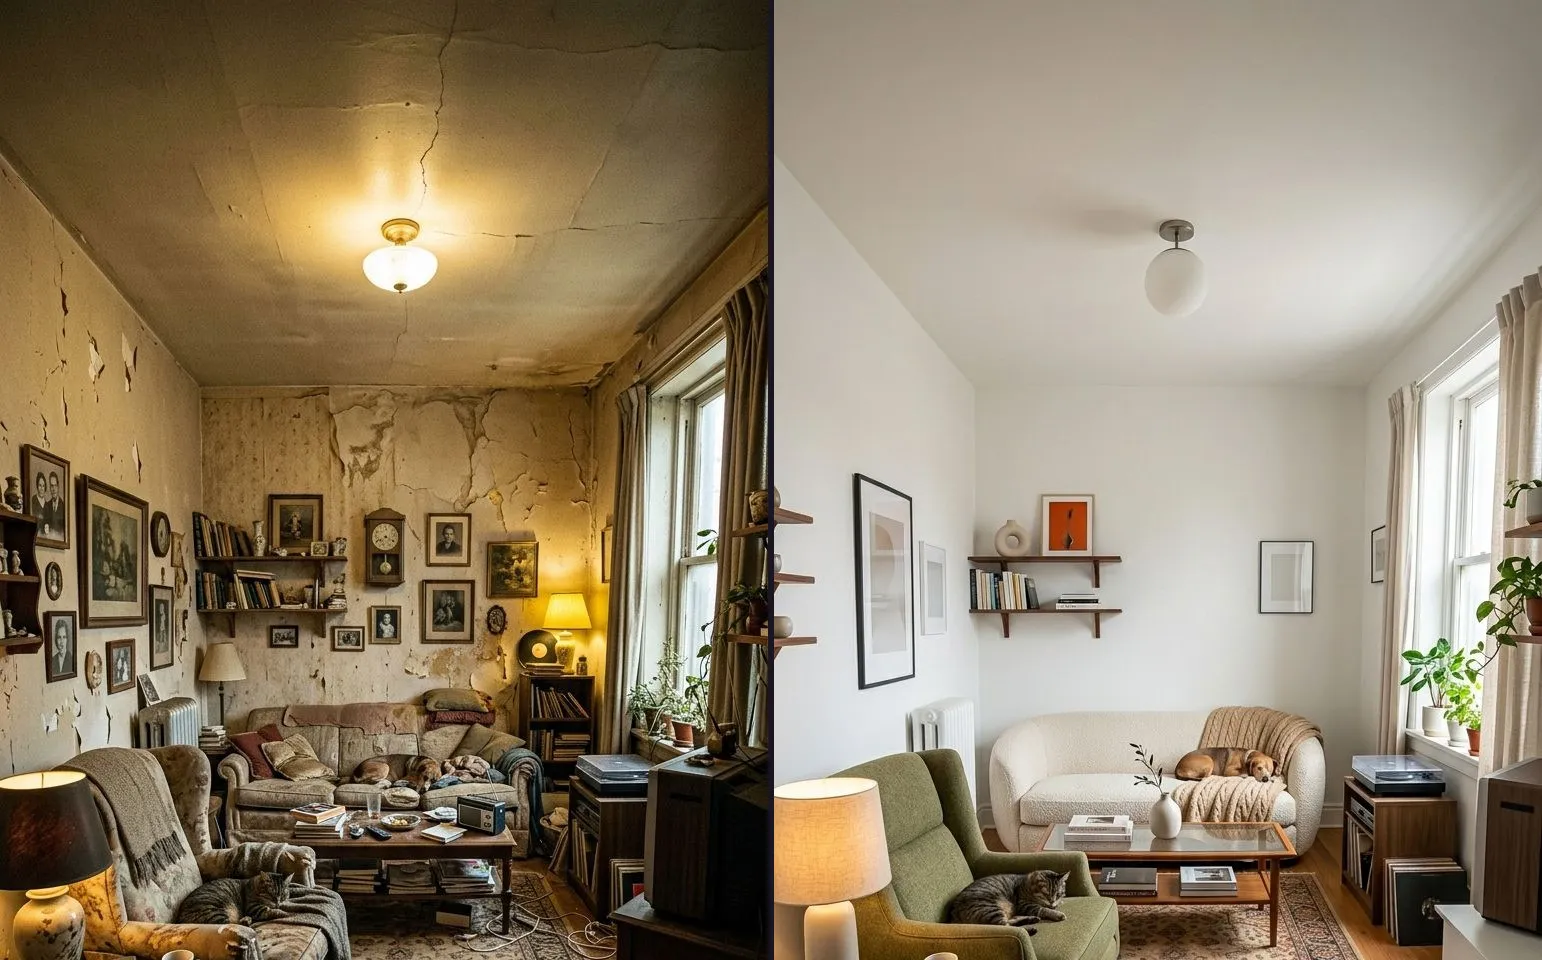
If a bin, a towel and a stack of boxes are in the before, they are in the after too. Tidying between frames adds an improvement you are not being paid for, and it removes the fixed reference points a viewer uses to line the two frames up.
7. Match the pose and the framing
Same stance, same shoulder line, same head angle, same expression. If the subject is a person, take thirty seconds to put them back exactly as they were rather than accepting whatever they naturally do when they are pleased with the result.
For an object or a room, match the framing: the same amount of floor at the bottom, the same amount of ceiling at the top, the same edge of the doorway visible on the left.
8. Shoot portrait if it is going to Reels or TikTok
Reels, TikTok and Stories are 9:16. A landscape frame gets letterboxed or cropped, and cropping a landscape frame to portrait throws away the sides of the shot you framed carefully.
Decide the destination before the first shot. If the answer is a vertical feed, hold the phone upright for both frames.
9. Take three of each
Three befores and three afters. It costs ten seconds and it covers a blink, a focus miss, a hand in shot and a passing car. Choose the best one from each set later, when you can actually see them.
Write these five numbers down
Everything above collapses into five things worth recording after the first shot. Keep them in a note on your phone, or on an index card by the mirror.
| What to record | Example |
|---|---|
| Spot | Tape mark by chair 2, subject on the second floorboard |
| Height | Subject eye level, seated |
| Distance | One and a bit metres, two paces from the tape |
| Lens | 1x |
| Light | Window only, room lights off, mid-afternoon |
Five lines. If you shoot pairs regularly, these barely change between clients, and after a fortnight you will not need to look at the card.
Ghost Camera does this for you
If the two frames are minutes apart, the card is enough. If they are hours or weeks apart, holding a spot in your head stops working, and this is the one place where we think an app genuinely earns its keep.
Ghost Camera in our app shows your before photograph laid over the live camera viewfinder at an opacity you set anywhere between 0 and 70 percent. You move the phone until the ghosted before lines up with what you are actually pointing at, then you take the shot. The eyes land on the eyes, the doorframe lands on the doorframe, the kerb lands on the kerb.
It is not clever and there is nothing automatic about it: there is no AI alignment, no auto-masking, nothing correcting your framing after the fact. It just shows you the mismatch while you can still do something about it, which is the whole problem. It is free, unlimited, and it is the single easiest way to solve the matching problem. You can read what else the app does on the app page .
What happens to the pair afterwards
Once you have two matched photographs, the rest is presentation. You can test the match in your browser first with the free before and after slider on this site: upload both photos, drag the handle, and nothing leaves your browser. A pair that was shot properly holds together as the handle moves. A pair that was not will jump.
Our app takes those two still photographs and gives you back a video, a GIF or a single image. There is no video input and no timeline, it is a photo pair in and a finished post out. The template catalogue shows all 100 in-app templates including the packs for hair, nails, tattoo, pet grooming, car detailing, garden, makeup and real estate.
The free tier, plainly: three exports a day, each one behind a rewarded ad, a watermark on video and image exports, 9:16 and 1:1 ratios, Slider Reveal only, and video up to 5.0 seconds with no music. Free and unlimited: all four comparison modes, all 12 filters, all 83 stickers, the full label editor, your logo and business name, Ghost Camera, reposition, undo, saved projects and all ten app languages.
If your pair still looks off after all this, the problem is upstream in the photographs, and the seven usual causes are listed in why your before and afters look fake .
Common questions
- How do I take the same photo twice with a phone?
- Fix five things and repeat them: the spot you stand on, the height you hold the phone at, the distance to the subject, the lens (1x, never 0.5x) and the light source. Write those five down after the first shot and reproduce them for the second.
- What lens should I use for before and after photos?
- The main 1x lens on both frames. The 0.5x ultrawide distorts anything near the edge of the frame, so a 0.5x shot and a 1x shot of the same subject will never line up. If 1x will not fit the subject, step back rather than switching lenses.
- Should before and after photos be portrait or landscape?
- Portrait if the pair is going to Reels, TikTok or Stories, because those are 9:16 and a landscape frame gets cropped or letterboxed. Shoot both frames in the same orientation whichever you choose.
- What is Ghost Camera?
- A camera mode in the Before and After Video Maker app that shows your before photograph over the live viewfinder at an opacity you set between 0 and 70 percent, so you can line the second shot up against the first before you take it. It is free.
- How many photos should I take of each side?
- Three of each. Blinks, focus misses and a hand in frame all happen, and three frames give you something to choose from without turning the shoot into a session.